
Uploading Documents to your Digital PTO Website
The ability to replace printed copies with Digital Documents is one of the cornerstones of Digital PTO. By uploading documents to your website and allowing parents to read them online, or print them from home, can save your PTO or PTA thousands of dollars a year.
A few things to keep in mind
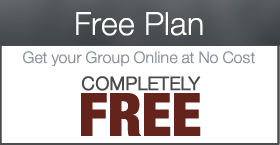
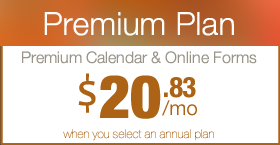
Our free plans come with limited storage space. If you plan on uploading quite a few documents and or images to your Digital PTO site we would highly suggest upgrading to a Premium Plan. Document uploads are limited to either .pdf of .doc formats only. Individual Files sizes are limited to 15 MB.
 Don’t Forget to Save your Work
Please remember to SAVE or UPDATE any changes you make or they will be lost! These blue buttons are typically found toward the top right of a page you are editing.
Step 1: Select the Page or Post you want to add a document to
 Adding a document is the same whether you are using a News Post or an Informational Page. We will be using a News Post for this sample. Once you have the list of Posts available, click the Title of the Post you want to add a document to.
Step 2: Specify where you want to Add the Document
 Once you have a Post or Page opened, click within the body of the text to create a spot to insert the link to the document.
Step 3: Click the Upload Button (looks like a square)
 Now click the Upload button (looks like a square in a square) next to Upload / Insert
Step 4: Select the File you want to Upload
 Type in the news story and details you wish to provide in the BODY field. You can edit your news just like you would with a Word Document. Bold, Bullets, Size, etc. If you do not see formatting options, be sure the VISUAL (not HTML) tab is clicked in the top right of the BODY.
Step 5: Enter the Name (text) of the Link
 Once the file has completed uploading, enter the Title of the document. This will also be the text that is shown for the link.
Step 6: Insert the Document into the Post
 After you have entered the Title, click INSERT INTO POST to close the window and see your new document.
Step 7: Review and Publish
 After you are returned to your main screen, review the link to the document you just added to make sure it worked as you had expected. You can edit the text on the link if you need to, etc. Once you are satisfied, click UPDATE or PUBLISH to save your work.
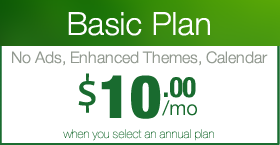
 Are you a Premium Plan member yet? It might be time to get started.


 Need More?