Adding Automatic Email Subscriptions Sent When Your Site is Updated
THIS PRODUCT IS IN BETA TESTING RIGHT NOW AND IS EXPECTED TO RELEASE THIS FALL
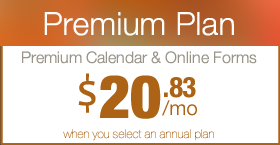
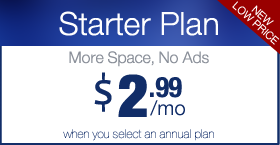
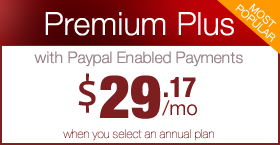
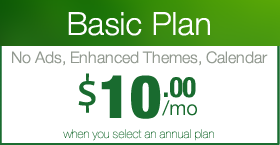
Members of the Digital PTO Basic, Premium and Premium Plus Plans have the ability to allow visitors to sign up to receive email notifications when new News Posts are added to your groups site. This is handled with our Subscriptions Module. Simply put, if a visitor signs up on your website to receive notifications, each time a post is added that visitor will receive a quick email with a summary of the post and a link to read the entire article.
A few things to note: This function sends an email every time a new News Article is added. If you add 12 News Posts in one day, your subscribers will receive 12 emails. Additionally, this is not a tool to create newsletters, it simply emails your subscribers when you make a new News Post. This is a great tool for groups that add news on a constant basis as well as for groups that only occasionally add news. Groups that add news in bulk may not want to offer this service as it can generate quite a few emails when many posts are added.
Step 1: Installing the Subscriptions Plug In
![]() Open up your Plug In’s Menu and look for the plug in called SUBSCRIBE BY EMAIL. Click ACTIVATE below this plug in to install the feature.
Open up your Plug In’s Menu and look for the plug in called SUBSCRIBE BY EMAIL. Click ACTIVATE below this plug in to install the feature.
Step 2: Configure your Subscription Settings
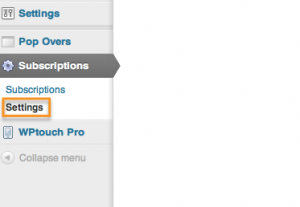 Click SETTINGS under the SUBSCRIPTIONS menu in your Admin Dashboard. This will bring up the configuration settings.
Step 3: Auto Subscribe Enabled Settings
 We suggest keeping this set to NO, but if you would like to, you can change this to yes and anyone that registers for your blog (by creating a username) will be automatically subscribed to receive emails when you make a new post. We suggest you allow visitors to opt in, vs auto subscribing them. Additionally, if a user is auto subscribed, they are not able to unsubscribe without deleting their user account. Use with caution.
Step 4: Excerpt Enabled
 We suggest setting this to YES as it will include a portion of the article posted (text only) in the email. This will give the reader an idea of the content of the article and encourage them to click on the full article link if they are interested.
Step 5: Notification Subject
 This setting allows you to set the subject line of the email that is sent. You can enter anything you want here, but we suggest using some of the auto variables here. Our suggestion is to paste the following subject line in: BLOGNAME: POST_TITLE
This will then create a subject line that looks like “Your Groups Name: The Title of the Post” and it typically works very well. Feel free to change this as you would prefer though.
Step 6: Notification Content
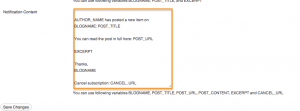 This area specifies the body of your email. There are many variables that are available for you to use that will automatically add information about your blog and post. We suggest you try to keep this as simple as possible and not be too wordy. Experiment with the default settings and then modify as you would prefer. A list of the auto variables can be found directly below the content box for your reference.
Here is a good place to start with your email content settings:
Dear Subscriber,
AUTHOR_NAME has posted a new item on BLOGNAME: POST_TITLE
You can read the post in full here: POST_URL
EXCERPT
Thanks,
BLOGNAME
Cancel subscription: CANCEL_URL
Step 7: Save your Changes
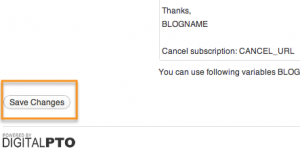 When you have completed your changes, be sure to click the SAVE CHANGES button at the bottom.
Step 8: Managing your Subscribers
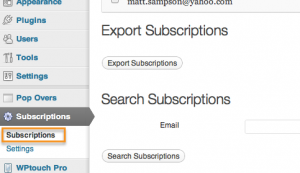 To see a list of your subscribers, click on the SUBSCRIPTIONS sub menu under the SUBSCRIPTIONS menu.
Step 9: Adding, Removing and Searching for Subscribers
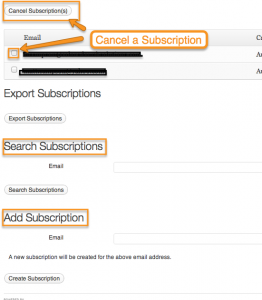 This page will allow you to manually cancel, search for and add subscribers. To add a subscriber manually, enter their email in the ADD SUBSCRIPTION field. To Remove a subscriber, click the box next to a subscriber and then click the CANCEL SUBSCRIPTION(S) button. You may also search for a subscriber if you list is exceptionally long. Please note that every email contains a link for the subscriber to cancel their subscription on their own as well.
Step 10: Adding the Subscription Widget
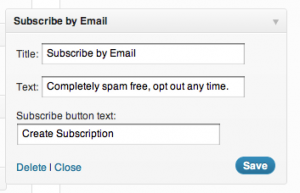
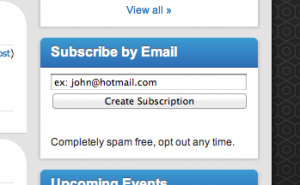
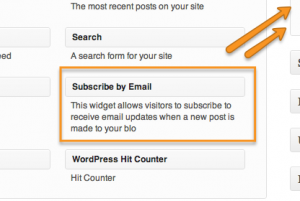 Now that your settings are all correct, you will want to add the Subscriptions Widget to your side bar. To do this head to APPEARANCE > WIDGETS and find the SUBSCRIBE BY EMAIL widget and drag it to the desired location in your sidebar.




 Need More Help?
