Installing Forms on your website
Digital PTO offers a wide variety of Pre-Built Forms for our Premium Members. Our Premium Plus Members have access to even more forms. This tutorial was designed to show you how to install one of the pre-built (or a form you built on your own) on your website. This tutorial does not cover form creation or modification. If you are not a Premium Member you will not see the FORMS menu in your admin panel.
If you are collecting credit card payments directly on your forms you will need to refer to the Wufoo Instructions Instead.
Step 1: Visit the Page you want to add a form to
 Click The View All Info Pages button to see you list of pages. Click on the title of the page you want to add a form to.
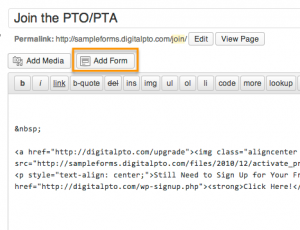
Step 2: Click the Add Form Button
 Click in the content area with your mouse to put the cursor where you want to insert your form and then click the ADD FORM button at the top of your window.
Step 3: Select the Form you wish to Add
 Select the Form you want to add to your page in the drop down menu.
Step 4: Select Form Options
 There are three very simple options to select from before you insert your form. 1) Display the Name of the Form? 2) Display the Description of the Form? & 3) Show a spinning ball when the form is submitting? (ajax). Select your preferences as you wish.
Step 6: Verify Placement & Update
 When the window closes, make sure that the code that was added to your content area is where you want it to be. This is where your form will appear. If you need to move the code, you can simply cut and paste the code right in the window. When you are satisfied, click UPDATE or PUBLISH and your form is live.


 Need More Help?


